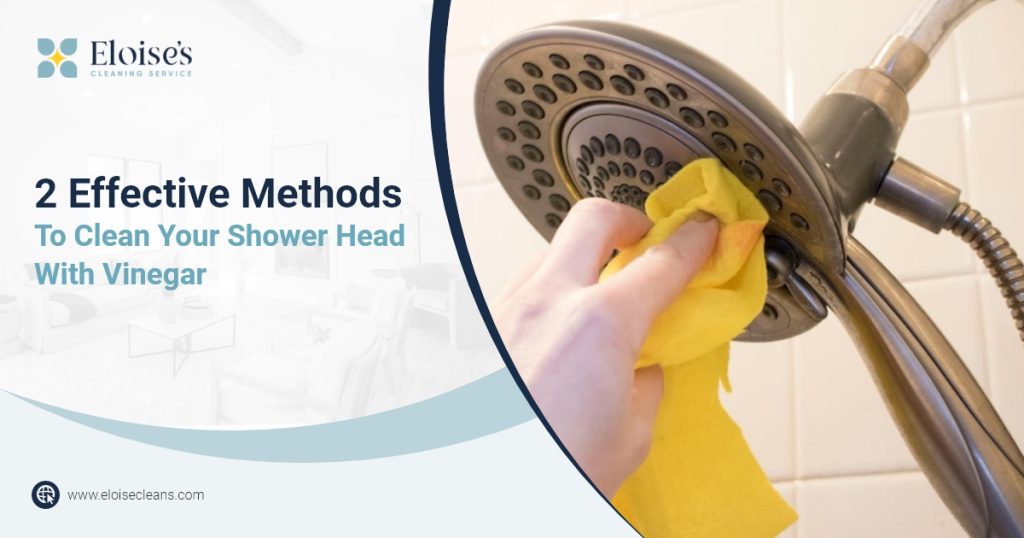
Shower heads don’t get dirty quite as often as many other fixtures at home, but that doesn’t mean it never happens! Most shower heads show white buildup over time due to the hard water running through the pipes.
Luckily, one product you will surely have in your house can help solve this problem! Check out these two methods to clean your shower head with vinegar.
How to clean a shower head with vinegar and a plastic bag
You may have heard of a hassle-free hack using a plastic bag to clean your shower head! Rest assured that it works, and knowing how to do it step-by-step will go a long way, not only to remove the grime but also to avoid causing any damage to the fixture.
Just follow the next steps to clean your shower head:
Step 1. Prepare the plastic bag
Find a sturdy plastic bag and fill it halfway with white vinegar. Then, place it over the shower head. If the shower head isn’t completely submerged, adjust the vinegar level without spilling it. Once you’re happy with the amount of vinegar, attach the bag to the fixture with rubber bands.
Step 2. Soak the shower head in vinegar
Since vinegar is acidic, it can dissolve the mineral deposits but needs time. So, leave your shower head soaking in the bag for at least an hour before you remove the remaining residue.
Note: You should only wait thirty minutes if the fixture is made from brass or nickel to avoid damaging the finish!
Step 3. Scrub and rinse the shower head
Once the time has passed, remove the bag from the shower head and pour the vinegar down the drain. Then, run the shower for a few minutes to remove the residue.
Once there’s no vinegar left on the shower head, grab a toothbrush to scrub it (pay special attention to the shower head jet holes), and rinse again with water.
The thorough way to clean a shower head with vinegar
While the plastic bag hack works, it may be less effective at removing every last bit of mineral deposits in some cases. If this is your situation, don’t worry! This method is not too hard, even if it requires a bit more elbow grease and time.
Follow the steps below to clean your shower head thoroughly:
Step 1. Take off the shower head
Taking off the shower head is the main reason you can clean it more thoroughly. This way, instead of only cleaning the outside, you will also deep clean the inside!
To do this, place a cloth over the connecting nut to protect the fixture and twist it with a wrench until it comes off.
Step 2. Soak the fixture
Once you have removed the shower head, place it in a bucket or bowl big enough to fit it. Then, fill the container with vinegar until it covers the shower head and let it rest overnight—the vinegar will dissolve the mineral deposits during this time.
Note: If your shower head is brass or nickel head, you should only leave it for half an hour. tops. Otherwise, the vinegar could damage the finish.
Step 3. Scrub and rinse the shower head
After the time’s up, scrub the shower head with a toothbrush. Make sure you clean on both the inside part and the outside. This will help to remove all the minerals and grime loosened from the vinegar bath.
You can also poke through the water holes with a toothpick to make sure nothing’s stuck in there. Then, simply rinse the shower head under a faucet until you see no residue.
Step 4. Reattach the fixture
Now, all that’s left to do is return the shower head to its rightful place! Put some plumbing tape around the connecting pipe to ensure there are no leaks, and reattach the shower head carefully.
Finish up by buffing the shower head with a microfiber cloth to make it shine. That’s it!
Need help cleaning the rest of your home?
Unlike cleaning a shower head, many chores will take more than a few hours! So, what can you do when you don’t have enough time to clean everything? That’s what Eloise’s Cleaning Service is here for! All you need to do is schedule your cleaning and let our experts do the rest.

